How to Be a Pumpkin Carving Ninja!
by Karina Barriga Albring
If you were inspired by the amazing jack-o-lanterns at these pumpkin festivals, you can create your own masterpiece with Wanderu‘s pumpkin carving how-to!
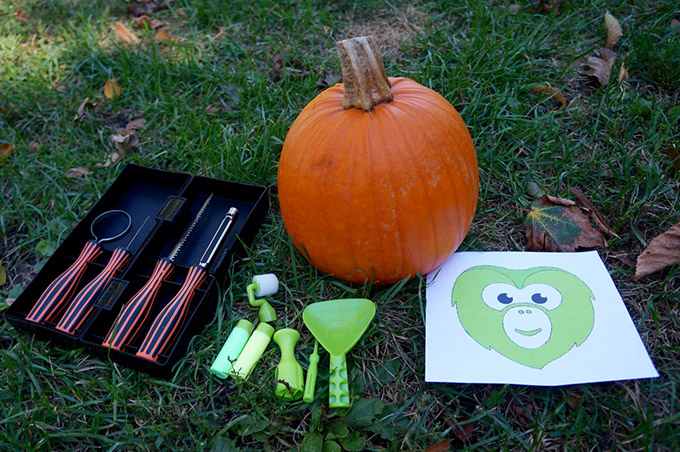
Pumpkin carving kits are a cheap way (only $5 or $10) to make sure you have everything you need – especially the essential punch tool!
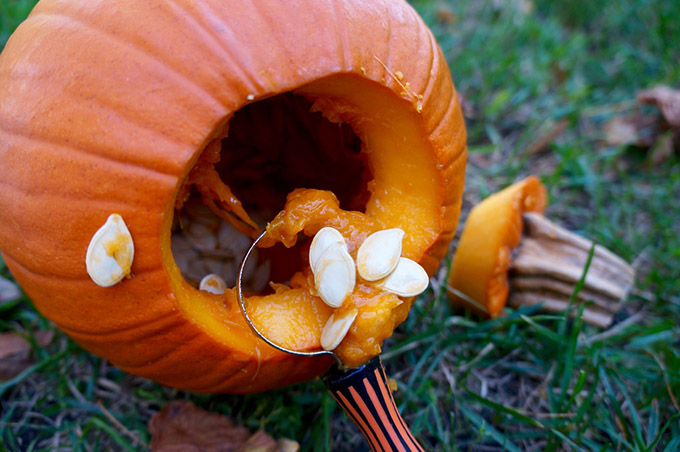
Don’t be afraid to get messy! Scooping out pumpkin guts can be gross, but it’s easier if you really dig in with a scoop, a spoon, or even your hands.
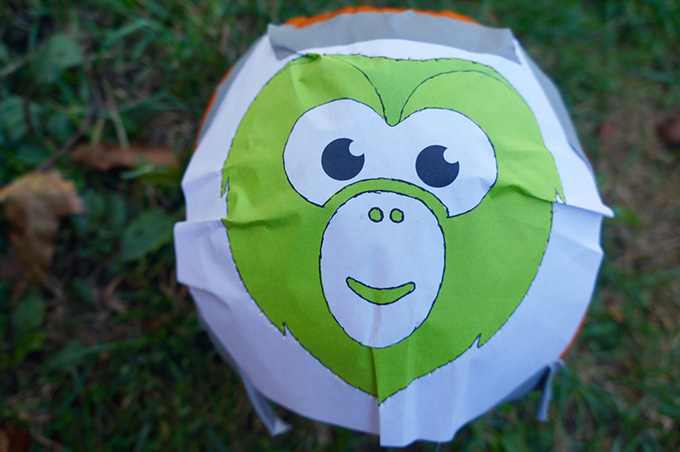
Getting your pattern to lie flat can be a challenge, but making small folds in the paper can help it happen with minimal distortion. Then tape it to the pumpkin so it stays in place.
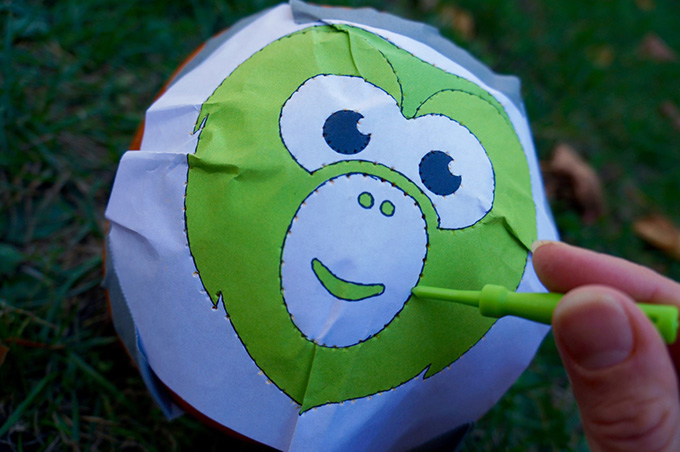
The plastic punch tool is truly the key to pumpkin carving. It might be tedious to punch holes along every line of your pattern, but it is like magic when you remove the paper to reveal your picture on the pumpkin.
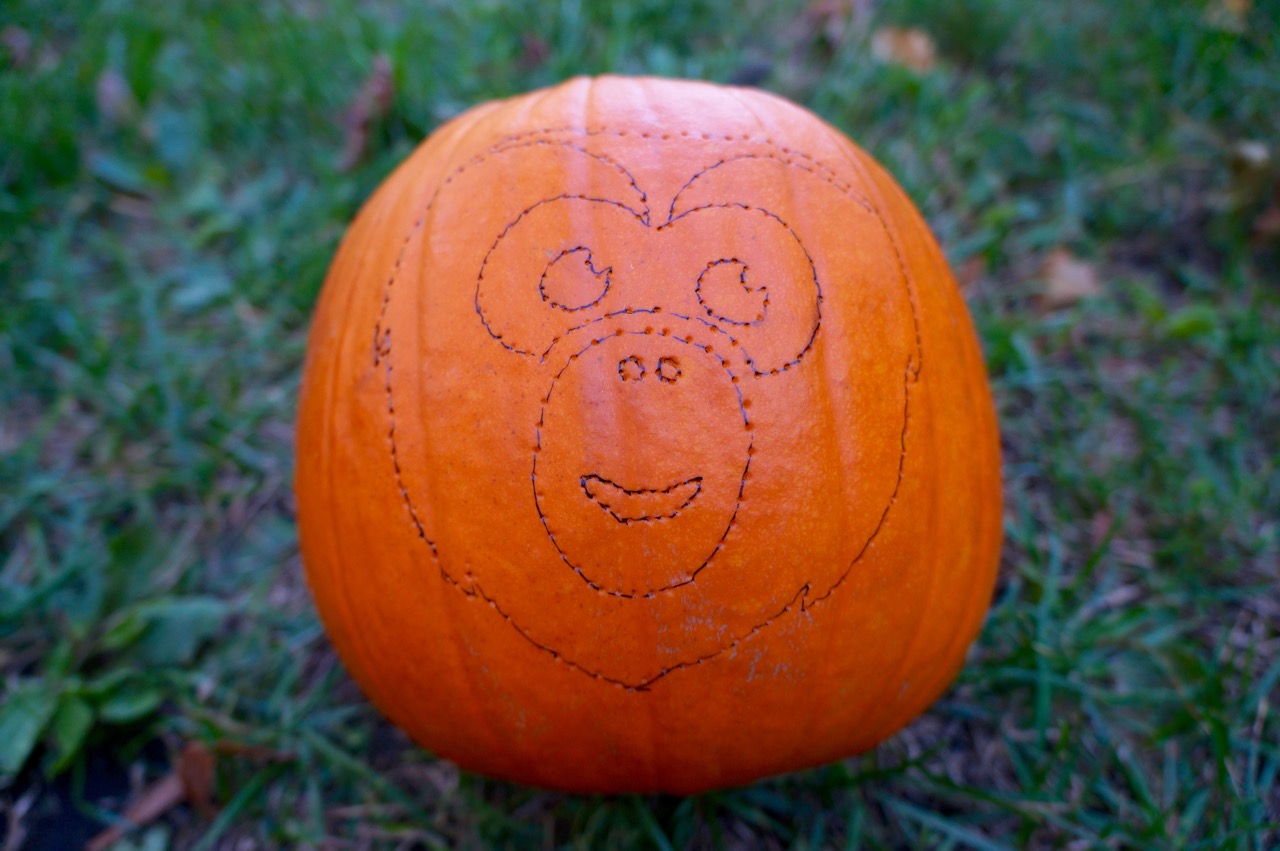
Trace the lines of your punched holes with a pen or marker to make sure you don’t get confused when you start cutting.
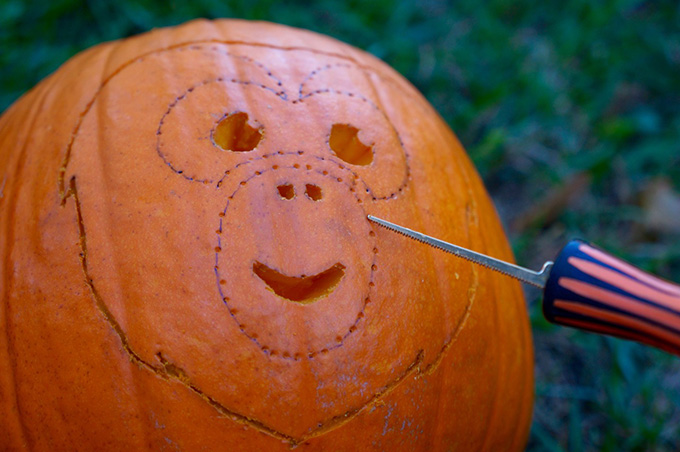
Plan the parts you want to carve out before you make your first cut, then grab your knife and get going!
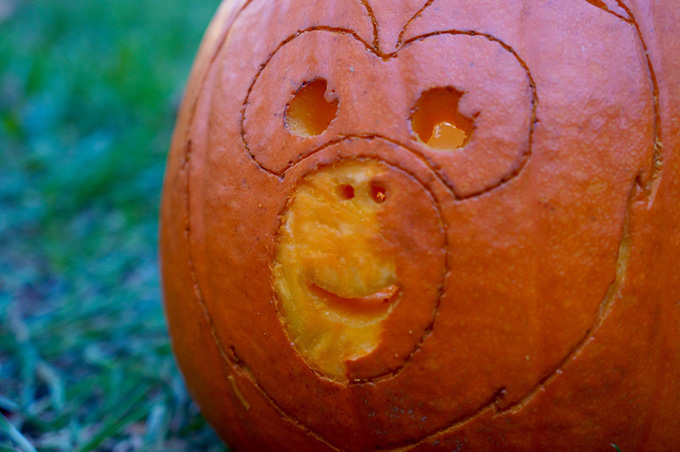
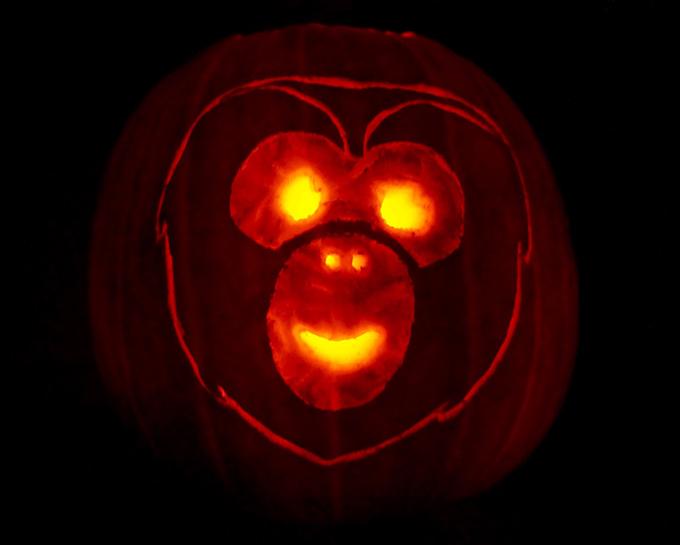
Remember, you don’t have to cut every piece out completely – if you just carve away the top layer, the light will still glow through.
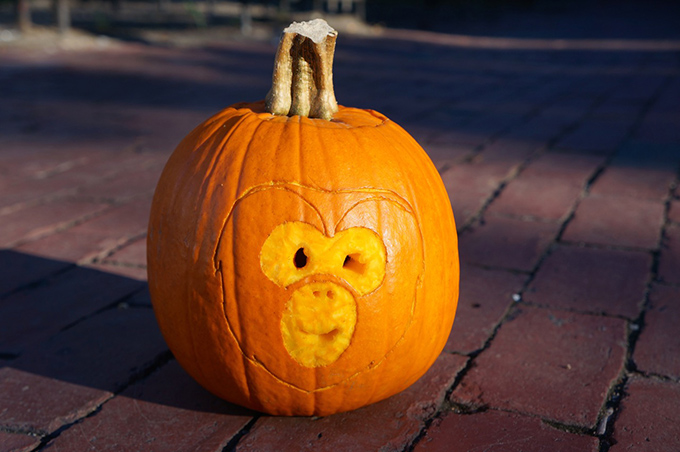
Finally, when you feel like your work is done, put a candle in and check it out. You can make any final touchups, then display your masterpiece!